Latest news about Bitcoin and all cryptocurrencies. Your daily crypto news habit.
Creating interactive infographics with plain Javascript (Part-two)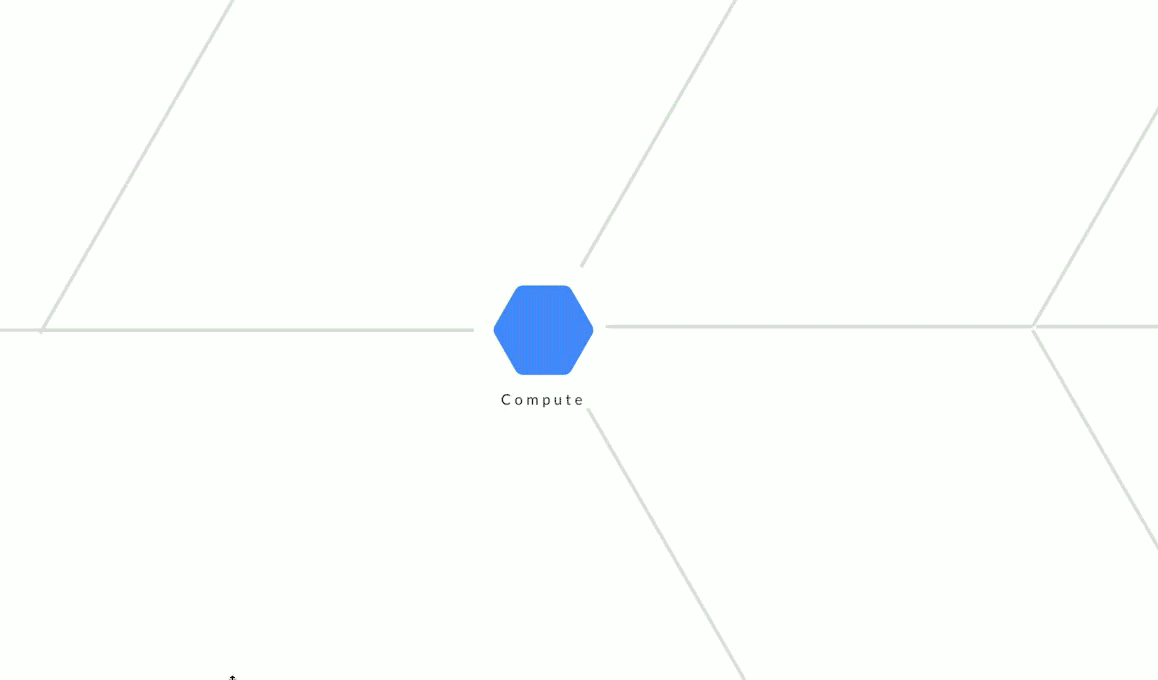 Navigation UI for large canvasesRecap
Navigation UI for large canvasesRecap
This article is a five-part series on creating interactive infographics with plain Javascript.
Previously we designed a schema and a view engine to set up the core architecture. We are ready to put some work into the frontend UI.
Objective
Let’s create navigation features to browse a large canvas.
Introduction
Think of infographics as a forest. With a wealth of information to present, designers may be tempted to squeeze the entire forest into a browser window. Texts, shapes, and images become too meshed up for the human eyes to see comfortably.
Going the other direction, designers may instead slice a layout into smaller parts and present each as separate pages. Visitors may see the trees but lose the forest.
Is it possible to see both the trees and the forest at the same time? Why not let users adjust the level of details as needed?
Concept
Imagine holding a “looking glass” over a map. Instead of shifting the looking glass to examine different parts of the map, we move the map itself. This effect is achieved through a CSS feature called overflow. By manipulating its properties, we can create 4 powerful navigation effects:
- Scroll (by X and Y scrollbar)
- Pan (by cursor’s relative position)
- Grab and drag (by cursor’s movement)
- Zoom (in or out)
Getting started—prepping the canvas
Create a variable called canvas to reference the map. This is the parent container.
var canvas = document.getElementById(“parentContainer”);
Setting up the mouse buttons. Use the left mouse button for “grabbing and dragging” navigation. Use the right mouse button for “panning” navigation. As the browser shows a contextual menu by default for the right mouse button, we’ll need to instruct the browser to give us control like so:
canvas.addEventListener(‘contextmenu’, function(event) { event.preventDefault(); },false);Scroll Scroll vertically and horizontally
The first technique scroll is created with a simple CSS:
div { overflow:scroll;}overflow controls how content is displayed. Think of this property as an imaginary overlay with a cutout window in its middle. overflow is our virtual looking glass.
Beneath the glass is the forest (i.e. canvas) itself. scroll tells the browser to move the underlying canvas horizontally or vertically (or both via a trackpad). Only exposed parts of the forest can be observed through that window cutout.
Preventing accidental interaction
We don’t want users to unintentionally move the canvas when they are just browsing something else. You can prevent that with a basic HTML button to toggle between the UI states of scroll and hidden. You’ll probably want hidden to be the default CSS behaviour (i.e. lock X and Y scroll).
canvas.style.overflow = "hidden";
When visitors are ready to explore the canvas, let them toggle to scroll.
canvas.style.overflow = "scroll";
scroll is a default browser feature. You won’t have to write any custom handlers.
Let’s move on to the next navigation feature.
Pan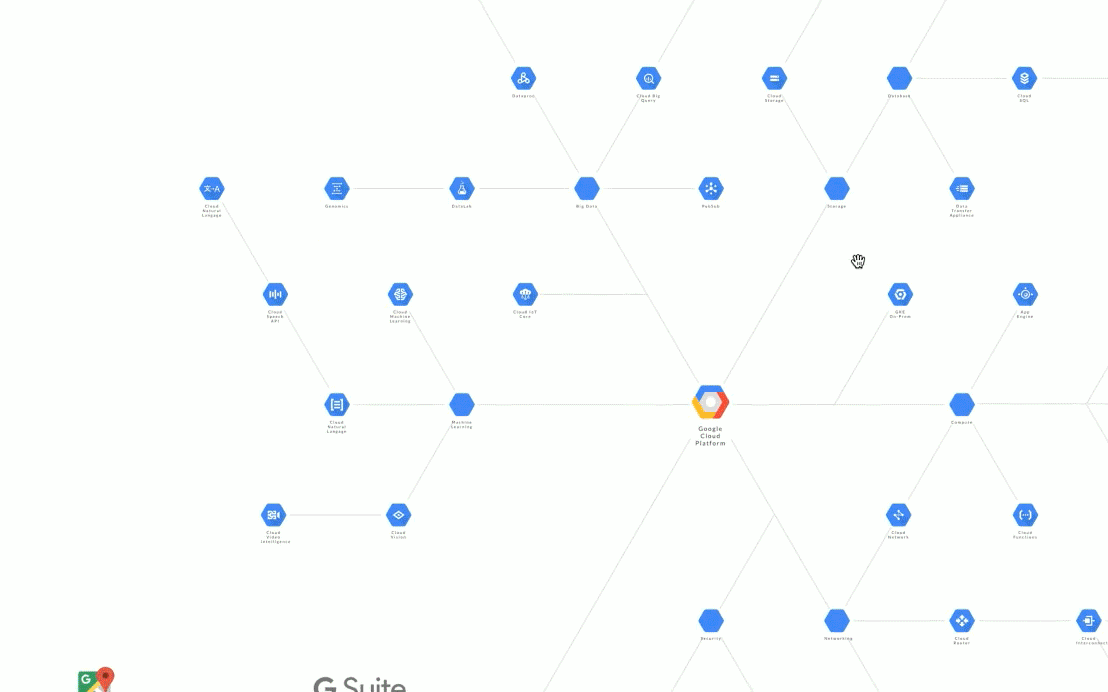 Pan by holding down the right mouse button and moving the mouse simultaneously
Regardless of canvas size, it is possible to explore an entire canvas quickly without running off the mousepad. This feature is activated by holding down the right mouse button and moving the mouse simultaneously.
Use the position of the mouse cursor to calculate the new relative scroll value (see bold).
canvas.addEventListener("mousemove", handlerMove, false);function handlerMove(event) { if (event.which == 3) { // use right button to pancanvas.scrollTo( event.clientX , event.clientY ); }}- mousemove listens to any mouse buttons being pressed (and not released).
- event.which == 3 detects the the right mouse button. event.which == 1 detects the left. event.which == 2 detects the middle scroll button.
- event.clientX and event.clientY provides the current coordinates of the mouse cursor.
Grab and drag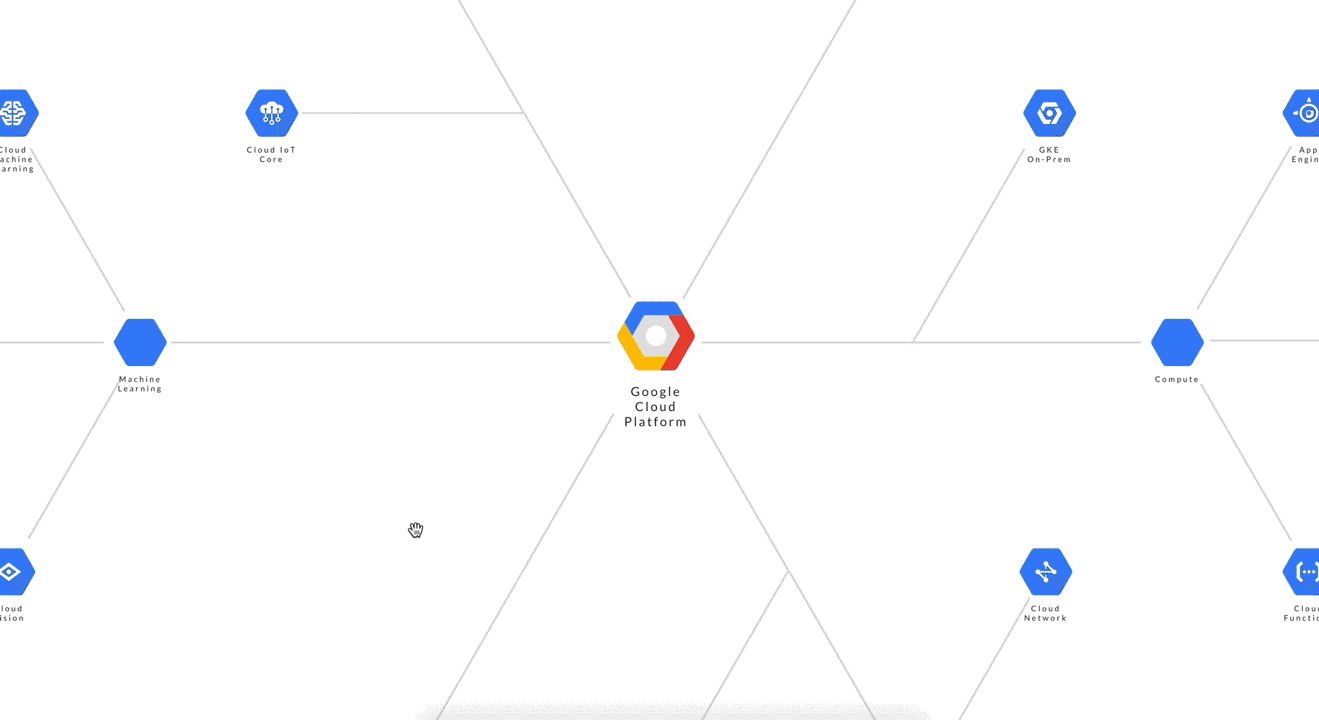
Two concepts work in tandem to create this effect.
Action and reaction. Let’s place the canvas on a tabletop and imagine the mouse cursor as our finger. When we hold a finger against the canvas and push it around, our finger is said to have moved a certain X and Y distance. Similarly, the canvas moves by the same X and Y distance. The finger has caused an action. The reaction is mirrored by how much the canvas has also moved.
The mouse cursor delta. We want to mirror this distance as a reaction on the canvas. In other words, the canvas should move by exactly how much the cursor has moved. Let’s call this value the mouse cursor delta.
Calculate with a surprisingly simple formula:
start coordinates - end coordinates
The result should update to a new scroll value in real time. Looking through our imaginary window cutout, a visitor would feel as if she’d dragged the canvas with her mouse cursor.
Tip: “mouse delta value” is just a label and is not the same as the WheelEvent.deltaX browser event.
Implementation. Add an event listener mousedown to detect the pressing of the left-mouse button.
canvas.addEventListener("mousedown", handlerGrab, false);function handlerGrab(event) { if (event.which == 1) { mouseDownBoolean = true; // Find the initial scroll value // Capture the initial mouse cursor position ... };}- assign the left mouse button with event.which == 1 .
- mouseDownBoolean tells other related functions that the left-mouse button is currently down or not.
Add the mousemove and mouseup listeners in tandem to drag and release the canvas.
canvas.addEventListener("mousemove", elementDrag, false);function elementDrag(event) { if (mouseDownBoolean){ // Calculate the delta after the mouse cursor has moved // scroll to the new position ... }};canvas.addEventListener("mouseup", elementDragclose, false);function elementDragclose() { if (mouseDownBoolean){ mouseDownBoolean = true; // "releases" the drag // change the cursor icon dynamically }};- mousemove triggers a custom function elementDrag to drag the canvas.
- mouseDownBoolean qualifies the action only if the left mouse button is also held-down (as set by handlerGrab).
- mouseup detects the end of a three-step sequence and call elementDragclose to reset the UI state.
Detecting all three actions as a sequence:
1. Press & hold the left mouse button2. Grab and drag the cursor some X and Y distances3. Release the mouse button
Within the code block if (event.which == 1) {…}, we can find the start scroll value with getBoundingClientRect():
var distanceToTop = canvas.getBoundingClientRect().top;var distanceToLeft = canvas.getBoundingClientRect().left;
and capture the initial mouse cursor position (before it moves):
var posXdelta = 0, posYdelta = 0, posX = 0, posY = 0;
myBox = e || window.event;posX = myBox.clientX - distanceToLeft;posY = myBox.clientY - distanceToTop;
Within the code block elementDrag(event), find the end coordinates and calculate the resultant delta value:
posXdelta = pos3 - ( myBox.clientX - distanceToLeft );posYdelta = pos4 - ( myBox.clientY - distanceToTop );
and command the browser to “scroll” to its new relative position:
var newX = canvas.scrollLeft + posXdelta;var newY = canvas.scrollTop + posYdelta;canvas.scrollTo( newX , newY );
- Manage your variables mouseDownBoolean, pos1, pos2, pos3, pos4, distanceToTop, distanceToLeft such that the above mentioned functions can access them.
Tip: If you are showing a node element as an image with the <img> tag, then prevent it from being accidentally dragged out of the window.
itemElementName[i].ondragstart = function(){ return false; };Don’t leave out the minor details
Wouldn’t it feel weird to drag something with a pointy arrow cursor? How about changing it to a grab cursor (i.e. hand icon) within the code block elementDrag(event)?
canvas.style.cursor = "-webkit-grab";// supports Chrome, Safari and Opera
Better still, add an animation effect grabbing whenever the mouse button is being pressed to show “grabbing in action”.
canvas.style.cursor = "-webkit-grabbing";
Remember to reset the UI state at code block elementDragclose() as soon as the mouse button is released.
Zoom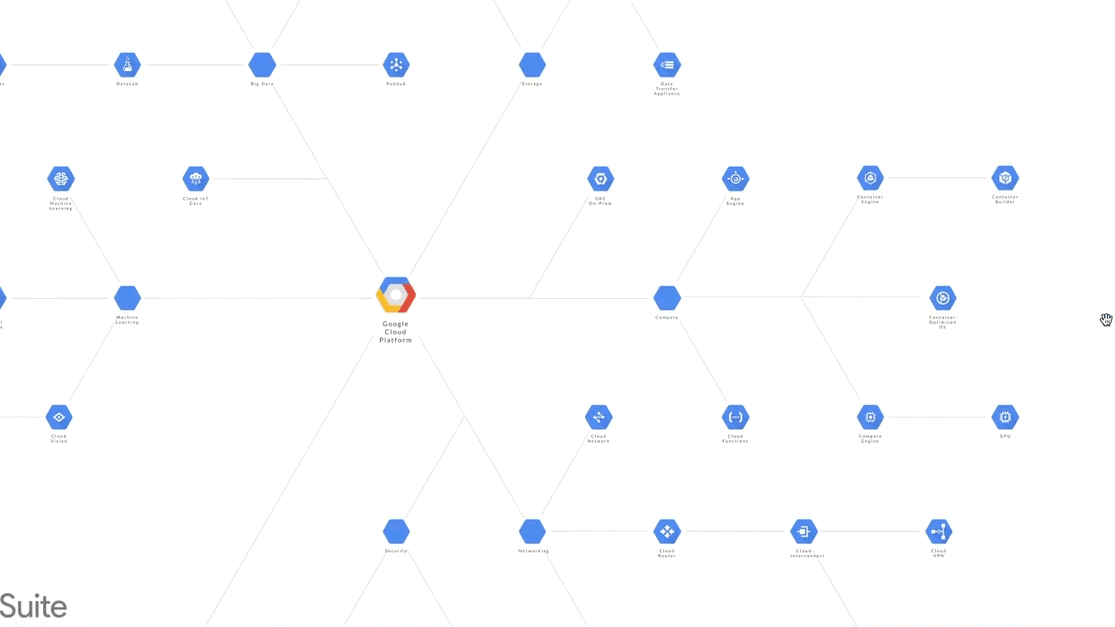 Zoom with mouse-scroll button
Use the scroll button for zooming. To zoom in and see the details, scroll up. To zoom out and see the bigger picture, scroll down. Use wheel like so:
canvas.addEventListener("wheel", handlerWheel);zoom by manipulating the numerical value.
canvas.style.zoom = 1;
Here’s the structure:
canvas.addEventListener("wheel", handlerWheel);function handlerWheel(event) { if (zoomAllow) { if (event.wheelDelta === 100) { zoomLevel = zoomLevel + 0.1; if (zoomLevel > 3){ ... } } else if (event.wheelDelta === -100) { zoomLevel = zoomLevel - 0.1; if (zoomLevel < 0.3){ ... } } }}
- It’s a good practice to prevent accidental wheel interaction. We should also differentiate window scroll actions from zoom actions. Use a boolean zoomAllow to toggle between zoom and scroll “mode”.
- Use event.wheelDelta to set the threshold for counting a zoom.
- Maintain a variable zoomLevel to zoom incrementally and smoothly. The smaller the value, the finer the zoom. Decimals are accepted. Consider adding an easing behaviour to animate smoothly.
- Use a conditional statement if (zoomLevel > myNumber) to set a max and min zoom range.
Maintaining focus. The absolute X and Y scroll value will remain the same after a zoom. This will “jump” the canvas to a new relative scroll position with every zoom. Let’s write a method to “remember” the original focus area.
var prevRatioX = (canvas.scrollLeft) / (canvas.scrollWidth - canvas.clientWidth);var prevRatioY = (canvas.scrollTop) / (canvas.scrollHeight - canvas.clientHeight);
var newX = prevRatioX * (canvas.scrollWidth - canvas.clientWidth);var newY = prevRatioY * (canvas.scrollHeight - canvas.clientHeight)
canvas.scrollTo( newX , newY );
- prevRatioX and prevRatioY calculates the scroll ratio (before a zoom).
- newX and newY recalculates the new relative scroll values (after a zoom).
- scrollTo tells the browser to go back to the previous relative position.
Next Steps
We have enhanced the view engine with 4 navigation features.
Let’s take it to the next level with a navigation gadget.
Links to other parts
Part-one sets the foundation for designing interactive infographics.
Part-two → You’re now here.
Part-three adds a dynamic mini-map to enhance navigation.
Part-four adds an inline UI to access layered content.
Part-five demonstrates why it is so easy to create UIs with a human touch.
If you enjoyed this story, you can find more at Pageii Studio.
How to create a navigation UI was originally published in Hacker Noon on Medium, where people are continuing the conversation by highlighting and responding to this story.
Publication date
Disclaimer
The views and opinions expressed in this article are solely those of the authors and do not reflect the views of Bitcoin Insider. Every investment and trading move involves risk - this is especially true for cryptocurrencies given their volatility. We strongly advise our readers to conduct their own research when making a decision.