Latest news about Bitcoin and all cryptocurrencies. Your daily crypto news habit.
After developing the smart contracts for 8x, I thought it was all over. That was far from the truth. The requirements for a decentralized protocol are slowly increasing over time with the need for:
- An easy to use JS library
- Up to date place of contract addresses and ABIs
- Documentation (dynamic, because who actually updates static documentation)
- Developer utilities
- dApp/widget to interact with the underlying protocol
- Marketing website that integrates or includes your dApp/widget
Each of these requirements, more or less, requires its own repo. Before you know it you’ll be managing over 7 different repos with version control on each of them. Suddenly, making a small change in one package will require an npm install in at least another 2 packages (best case).
So what’s the answer to this madness? A monorepo.
The first time I saw a monorepo, I felt a little something like this:

It feels a bit counter intuitive at first, why would you have one repo that contains all your repos? The answer has been outlined by many large companies such as Microsoft, Facebook and Google who all have a single repo for their entire code base. Here are some of them:
- Ease of version control management
- Manipulate your repos in some really neat ways by referencing their local paths
- Large scale refactoring made easy (your entire code base will break immediately if you mess something up)
- Visibility of an entire organisation’s codebase
- Avoid not-invented-here syndrome between teams
Some of this may seem a bit abstract but I promise you’ll see the light eventually.

The low down
To create our monorepo we’re going to use Lerna: https://github.com/lerna/lern
Here’s what you’re going to want to do inside a new folder
1. Create a new directory mkdir monorepo && cd $_
2. Install lerna globally npm install -g lerna
3. Create the structure for your new monorepolerna init
4. Import your existing smart contracts repo with lerna import /path/to/your/contracts/repo (this will keep your commit history so don’t worry about starting from scratch young one).
Okay so before we carry on, you’re soon going to have a structure that looks a little like this:
monorepo/├── package.json├── packages│ └── contracts│ └── package.json│ └── another_one│ └── package.json│ └── another_one│ └── package.json
Essentially what this means is that all your dependencies will be symlink'd to each other so changes in one repo will immediately show up in the others since they’re referring the same path in your local file system rather than containing duplicated code throughout. All you need to do is run lerna bootstrap once.
But you can also start doing cool things such as:
lerna run build which will run npm run build inside each repo OR
lerna publish which will upgrade all your packages to the same version (useful if you’re going to deploy a new set of smart contracts). This becomes even better if you add a prepublish script inside all your repos which will in turn clean your dist folder, lint your code base and generate your final dist folder.
"scripts": {"clean": "rimraf -rf ./dist",
"lint": "tslint --project tsconfig.json -c tslint.json",
"build": "npm run clean && npm run lint && tsc,
"prepublishOnly": "npm run build"
}
Readme
If you’re going to be putting all your eggs in one basket, make sure that basket looks decent!
Inside the root of your monorepo folder, create a new file call readme.mustache
I know, you’re wondering why not readme.md ? We’ll come back to this later but for now here’s how you can swag up your repo:
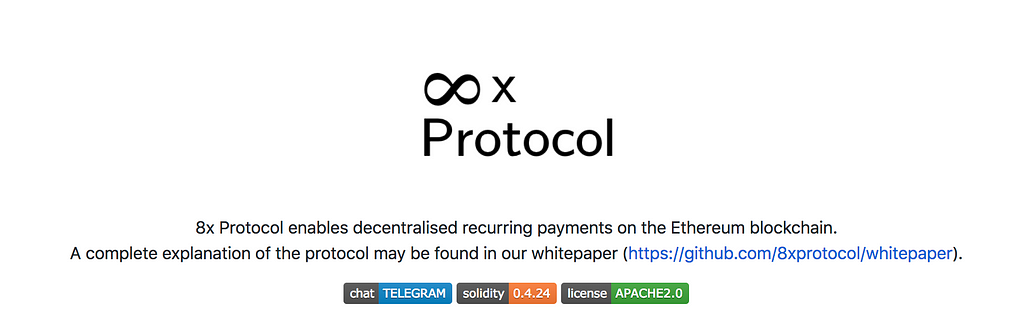
<p align="center"><img src="your-logo" width="280"/></p>
<p align="center">
insert-description-here
</p>
<p align="center">
<a href="https://opensource.org/licenses/Apache-2.0"> <img src="https://img.shields.io/badge/LICENSE-APACHE2.0-3DA639.svg"/> </a>
</p>
That will give you something a little like this (less the chat and solidity badges and after we convert it to markdown):
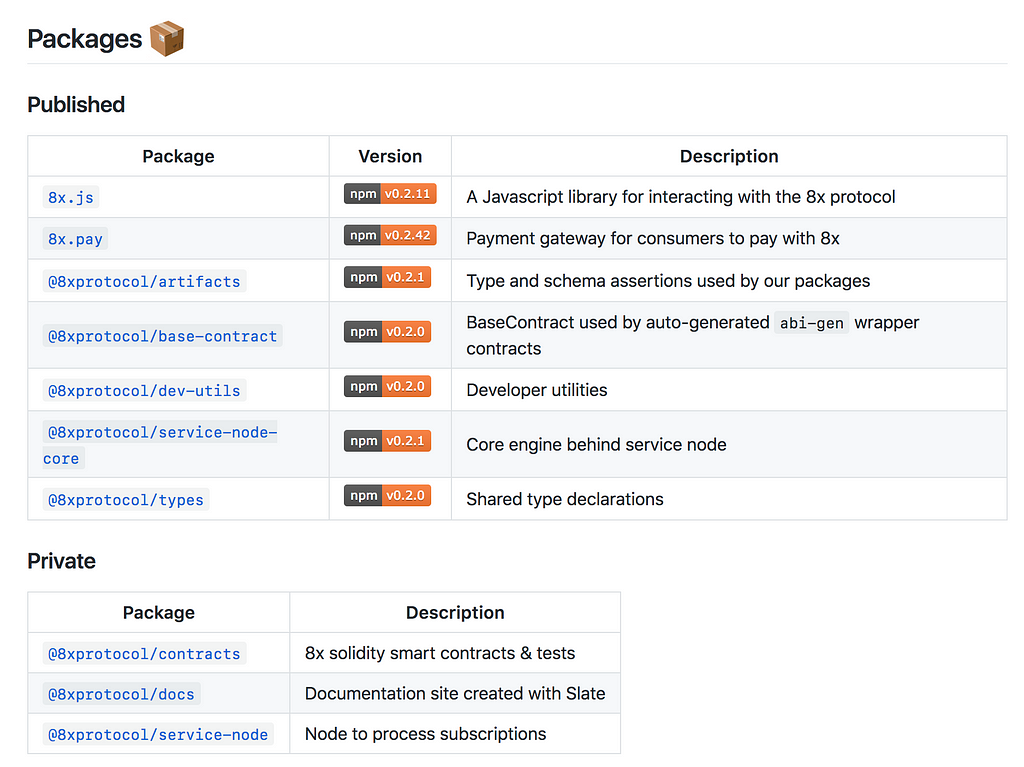
It’s a great start but your fellow developers want to see all the packages in your monorepo and their respective versions. Let’s add some more code to our readme.mustache :
## Packages
### Published
| Package | Version | Description |-----------------------------------------------
|[`name`](/packages/path) | [](https://www.npmjs.com/package/name) | a description |
### Private
| Package | Description |---------------------------------|[`name`](/packages/path) | a description |
In case you’re wondering, published packages are ones you’re going to publish with npm to be used in other repos. Private packages are ones that you wouldn’t import into another project. Examples include smart contracts, marketing website etc. So what did the above net us? This:
Now, the next bit of code we’re going to add is:
### Contracts (insert network here)| Contract Name | Address || ------------- | ------- |
{{#network.addresses}}| {{name}} | {{address}} |{{/network.addresses}} We’ll revisit this bit later, but for now you’re going to want to insert the network your project is currently on (kovan, main-net, etc).
That’s it for now!
We now have the very basics for creating our actual protocol with the relevant resources for any visitors to find what they want (almost).
Stay tuned for the next edition of the tutorial where we go into the details of generating Typescript artifacts and writing a subsequent JS library to be consumed by other developers.
Beyond Solidity, part 1: Setting up the Monorepo was originally published in Hacker Noon on Medium, where people are continuing the conversation by highlighting and responding to this story.
Publication date
Disclaimer
The views and opinions expressed in this article are solely those of the authors and do not reflect the views of Bitcoin Insider. Every investment and trading move involves risk - this is especially true for cryptocurrencies given their volatility. We strongly advise our readers to conduct their own research when making a decision.