Latest news about Bitcoin and all cryptocurrencies. Your daily crypto news habit.


Some days ago I’ve got my hands on the AvalonMiner 741, the new Bitcoin ASIC by Canaan. The Avalon 741 is an improved version of the Avalon Miner 721. It features higher hashrate and a much better cooling system to allow the 88 chips to function stable.
In this article, I am going to review the miner as well as provide you with a detailed set up guide. I’ve created this tutorial it since I haven’t found a working guide on the Internet and had to figure out some steps on my own. Now it’s all served, ready for you to enjoy!
 AvalonMiner 741 - 7.3 TH/s
List Price: $1,389.90
Price: $1,389.90
AvalonMiner 741 - 7.3 TH/s
List Price: $1,389.90
Price: $1,389.90
 Price Disclaimer
 Avalon Miner 741 Review Unboxing 1
 Avalon Miner 741 Review Unboxing 2
 Avalon Miner 741 Review Unboxing 3
 Avalon Miner 741 Review Unboxing 4
Avalon Miner 741 Specs
Hashrate
7.3 TH/s (RTHS) (7.3-8 RTH/s in field)
Power Consumption
≈ 1150W, +0% ~ +15% (with 93% PSU efficiency @ 25 C)
Power Efficiency
0.16 Joules/GigaHash at the wall
Rated Voltage
Max 12.53
Chips
88 x A3212 16nm ASIC
Frequency
Smart Speed
Hash Error Rate
~1% on chip validation
PSU output pins
6 x 6PIN power connectors
Network Connection
Through AUC3 + AUC3 I2c to AvalonMiner Controller
Controller
AvalonMiner Controller *
AUC3
Each AUC3 may daisy-chain connect up to 5 devices
Operating Temperature
-5C-40C
Air-intake Temperature
-5 °C to 40°C
Cooling
Airform Cooling 1 rear fan 6000 RPM
Fan
1 X 12038 PWN
Noise
50-60db
Dimensions
320 mm x 136 mm x 150 mm
Net weight
4.3 kg
To receive the latest updates follow me on social media! 
facebook
twitter
Follow
google
youtube
The Avalon Miner comes in a sturdy metallic box with one fan. The first thing I’ve noticed about the miner is that if you look through the fan grid, you will notice the weird shape of the heatsinks. Apparently, the AvalonMiner 741 features the Airforming Cooling technology that allows it to dissipate heat more efficiently. This is a great feature for a miner that functions 24/7.
What about noise levels? According to Canaan, the miner alone produces between 50 and 60 Db.In my case, I was not able to isolate the miner from other noises when measuring. My sound meter shows an average of 63 Db, however I was also picking the noise from my 1600 W PSU and PC.
 AvalonMiner 741 Review Metalic Material One Fan
 AvalonMiner 741 Review 1
 AvalonMiner 741 Review Heatsinks Cooling technology
 AvalonMiner 741 Review Noise Level
Price-wise, the miner is accessible to the average mining enthusiast by being priced $798.00 USD on the official Canaan website. According to some calculations, the miner should be mining around Ƀ 0.05968 per month, which translates into $ 171 USD/mo income, electricity fees included. If we don’t take into account Bitcoin price and difficulty fluctuations, the AvalonMiner 741 has a ROI of around 6 months. This does not include the cost of a new PSU.

What Comes in the Package?
Back to my own experience with this miner. I’ve got it some days ago and have been testing it since then. It is worth mentioning that the miner came well-packed. Just as stated on Canaan’s website, here is what came inside the box:
- 1 X AvalonMiner 741
- 1 X AvalonMiner USB Converter 3 (AUC3)
- 1 X AUC3 I2C 5PIN Cable
- 1 X Micro-USB cable
 AvalonMiner 741 Review Unboxing AUC3 AUC3 5PIN Cable Micro-USBs
 AvalonMiner 741 Review Unboxing AUC3 AUC3 5PIN Cable Micro-USBs 2
 AvalonMiner 741 Review side 1
 AvalonMiner 741 Review side 2
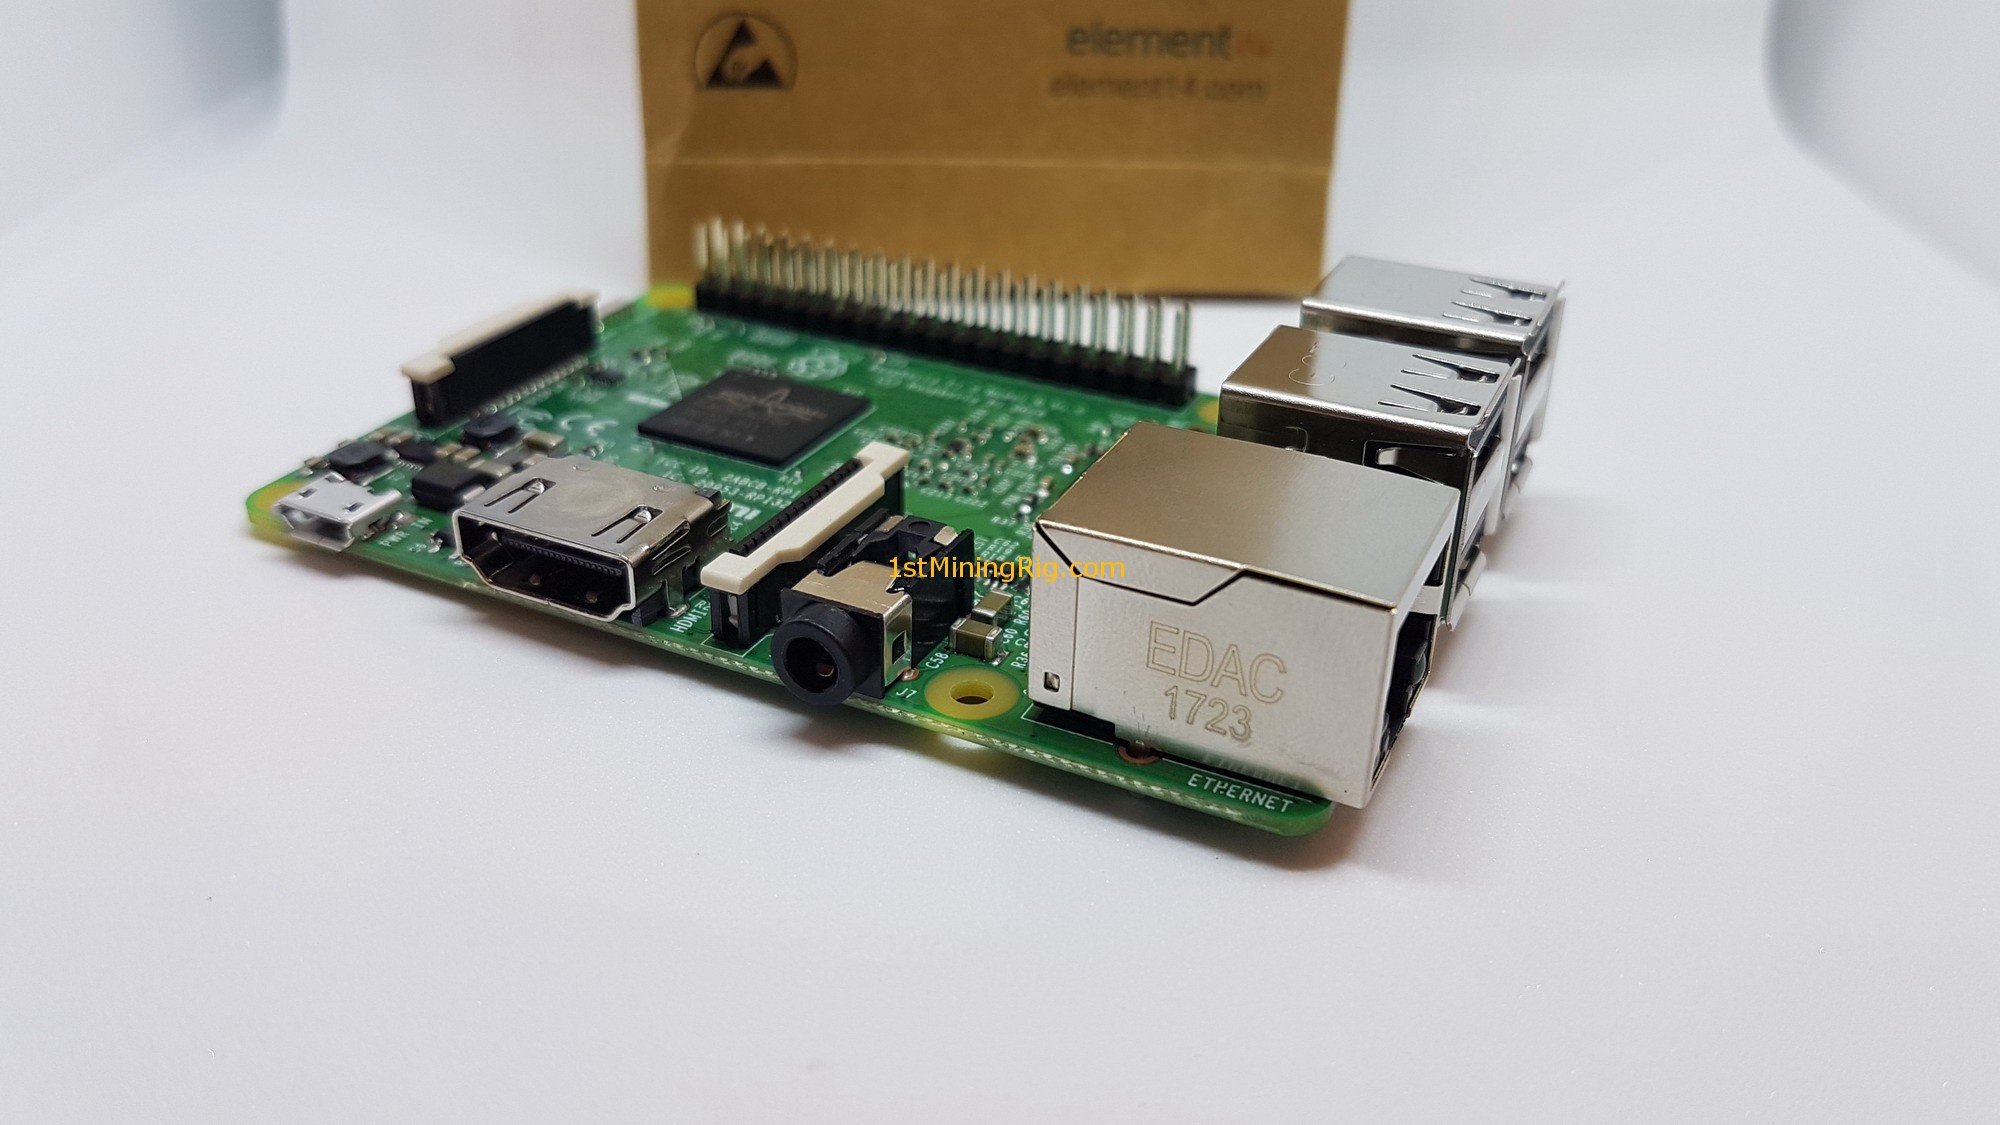
You do not get a PSU or the AvalonMiner Controller. I recommend you using a 1600 W PSU – this way you avoid throttling. About the controller, I have used a RaspBerry Pi 3 Model B one instead, as described below.
AvalonMiner 741 recommended PSU and Controller
Recommended PSURecommended ControllerSorcerer Power Supply Unit 1600w

AplusPower CO 1600w PSU
 200V - 240V 1600w PSU Antminer S9 S7 like Bitmain PSU
List Price: $199.99
Price: $199.99
Price Disclaimer
200V - 240V 1600w PSU Antminer S9 S7 like Bitmain PSU
List Price: $199.99
Price: $199.99
Price Disclaimer
AvalonMiner Controller

RaspBerry Pi 3 Model B
 Raspberry Pi 3 Official Desktop Starter Kit (16Gb, White)
List Price: $55.25
Price: $55.25
Price Disclaimer
Raspberry Pi 3 Official Desktop Starter Kit (16Gb, White)
List Price: $55.25
Price: $55.25
Price Disclaimer
AvalonMiner 741 Installation and Setup
When I first got my AvalonMiner, the first thing I did was to google for a step-by step tutorial on how to set this thing up.
While Google did not fail me and shown me a couple of guides on how to connect the cables to the miner and turn it on, I haven’t found one that would cover all of the needed steps to set up the 741. In fact, it took me a couple of hours to make this thing work. So, without further ado, let me show you the exact steps I’ve followed to make the miner function as intended.
Here are the things I’m using besides the miner and what comes with it in the box:
- An AvalonMiner Controller or RaspBerry Pi 1/2/3 (I didn’t get an AvalonMiner Controller from Canaan, so I’ve bought a Raspberry Pi 3 Model B which is the same thing. However, this also means that I had to install the OS manually, as shown in this tutorial)
- A 1600W PSU, in my case I have an Artesyn DS1600SPE-3 1600w 80+ Platinum
- An Ethernet cable

1 RaspBerry Pi 3 Model B AvalonMiner 741 Firmware installation and setup(Skip this step if you have the AvalonMiner Controller)
 RaspBerry Pi3 Model B Full Kit
 RaspBerry Pi 3 Model B Unboxing
 RaspBerry Pi 3 Model B side 1
 RaspBerry Pi 3 Model B side 2
 RaspBerry Pi 3 Model B Case 1
 RaspBerry Pi 3 Model B Case 2
- Download this firmware version: https://canaan.io/downloads/software/avalon741/openwrt/20170603/rpi3-modelb/openwrt-brcm2708-bcm2710-rpi-3-ext4-sdcard.img
- Download and install Win32 Disk Manager , needed to burn the software on MicroSD card https://sourceforge.net/projects/win32diskimager/
- Insert MicroSD in card reader
- Start Win32 Disk Manager and select the image file
- Make sure you have selected the SD card on Device dropdown
- Click Write and wait few seconds until confirmation
- That’s it, let’s move to the next steps
 Win32 Disk Manager 1
 Win32 Disk Manager 2
Now let’s make sure that the firmware is properly installed:
- Connect the internet cable to the controller
- Connect the power adapter
- Connect the HDMI to the monitor (not necessary, only if you want some texts J)
- In your browser, connect to controller using the default IP 192.168.0.100 (if you are not able to connect, edit your IP address as shown here: IMAGE)
- There is no password set yet, hit login button and you will be redirected to dashboard
 RaspBerry Pi 3 Model B Connections
 RaspBerry Pi 3 Model B HDMI
 RaspBerry Pi 3 Model B AvalonMiner OS Startup
 RaspBerry Pi 3 Model B AvalonMiner Login
2 AvalonMiner 741 Firmware Configuration
- I am going to use Antpool because it is very user-friendly and easy to set up. You might want to go to https://www.antpool.com and create an account if you don’t have one yet.
- Once logged in, go to settings and add your Bitcoin address
- Now, go to Dashboard – > Worker and create one
- Go back to Avalon dashboard -> Configuration page to set up the pools and worker from Antpool
- Click on ‘Save & Apply’
- In order to make the Avalon Miner 741 work, you will need to connect it via wireless network. Here’s how you do it:
- Click on Advanced Version button (left side menu), then
- Go to Network -> WiFi,
- click on Scan button,
- choose your wireless ID,
- click on Join Network button,
- enter WPA passphrase (password),
- select LAN as firewall-zone.
- Click on Submit and you will be redirected to the Device Configuration
- Click on Save & Apply.
 AvalonMiner Firmware OS Dashboard
 AvalonMiner CGMiner Wireless Configuration
 AvalonMiner CGMiner WiFi Join Network
 AvalonMiner CGMiner WiFi Login
 AvalonMiner CGMiner WiFi Configuration
 AvalonMiner CGminer Network connection
 Antpool Settings Wallet Address
 AvalonMiner Firmware OS Configuration
After you’ve completed the previous steps, power up your AvalonMiner 741 and connect it with the Raspberry Pi 3 Model B. It should start mining now.
You can check the hashrate reports on the Avalon Dashboard or pool dashboard:

 AvalonMiner OS Dashboard
 AvalonMiner CGMiner dashboard status
 AvalonMimer 741 AntPool Dashboard
 AvalonMimer 741 AntPool Dashboard 2
If you are going to use Antpool you can install their app on your smartphone and check the reports from there:
 AvalonMiner AntoPool Mobile APP 1
 AvalonMiner AntoPool Mobile APP 2
Before to continue further, please share this thanks!
Where to Buy!
Cannan's Official WebsiteAmazonPower Supply UnitController
AvalonMiner 741 - 7.3 TH/s
List Price: $1,389.90
Price: $1,389.90
Price Disclaimer
Sorcerer Power Supply Unit 1600w
AplusPower CO 1600w PSU
200V - 240V 1600w PSU Antminer S9 S7 like Bitmain PSU
List Price: $199.99
Price: $199.99
Price Disclaimer
AvalonMiner Controller
RaspBerry Pi 3 Model B
Raspberry Pi 3 Official Desktop Starter Kit (16Gb, White)
List Price: $55.25
Price: $55.25
Price Disclaimer
In Conclusion
I hope you have found this review and guide helpful. So far, I am happy with this new miner. The AvalonMiner 741 is the kind of hardware that works as intended, which is all one can ask for.
I will keep you updated on how this ASIC works and will post anything new I learn about it, so stay tuned!
- Mining Performance
- Power Consumption
- Cooling
- Price
.wp-review-5399.review-wrapper { width: 100%; float: left }
.wp-review-5399.review-wrapper, .wp-review-5399 .review-title, .wp-review-5399 .review-desc p { color: #555555;}
.wp-review-5399 .review-links a { color: #1e73be;}
.wp-review-5399 .review-links a:hover { color: #555555;}
.wp-review-5399 .review-list li, .wp-review-5399.review-wrapper{ background: #ffffff;}
.wp-review-5399 .review-title, .wp-review-5399 .review-list li:nth-child(2n){background: #e7e7e7;}
.wp-review-5399.review-wrapper, .wp-review-5399 .review-title, .wp-review-5399 .review-list li, .wp-review-5399 .review-list li:last-child, .wp-review-5399 .user-review-area{border-color: #ffbc0f;}
Thank you for reading. As always, your comments, suggestions and questions are welcome.
Subscribe and stay tuned for further updates!
Found this useful? Buy me a beer
PayPal: https://www.paypal.me/1stMiningRig
ETH: 0x8a159cc27454130ee4880504f4d2afe2ebb22d15
BTC: 3DWC5xaaapSRmccAvv12dF3nsRYqx3Y1YM
ZEC: t1T9dLLM14Jh6NNuCPfNsRgGnj58LkT3yYX
NEED HELP WITH YOUR RIG? CLICK HERE!The post AvalonMiner 741 Review & Installation Guide appeared first on 1st Mining Rig.
Publication date
Disclaimer
The views and opinions expressed in this article are solely those of the authors and do not reflect the views of Bitcoin Insider. Every investment and trading move involves risk - this is especially true for cryptocurrencies given their volatility. We strongly advise our readers to conduct their own research when making a decision.