Latest news about Bitcoin and all cryptocurrencies. Your daily crypto news habit.
We all know, how cool an android app looks, when it can detect our face or track if our eyes are closed or open. It becomes way more cooler when the app can even detect if we are smiling, reading on phone or not looking at it.
Well…
I believe.. whatever does appeals me, simply makes me build it!
Sorry, tried a “The Dark Knight” pun :)
So let us make an android eye tracking and face detection app using Google Vision API.
From Google:
Cloud Vision API enables developers to understand the content of an image by encapsulating powerful machine learning models in an easy-to-use REST API. It quickly classifies images into thousands of categories (such as, “sailboat”), detects individual objects and faces within images, and reads printed words contained within images. You can build metadata on your image catalog, moderate offensive content, or enable new marketing scenarios through image sentiment analysis.
Here we will be making an android app that can track our face, and detect if our eyes are closed or open.
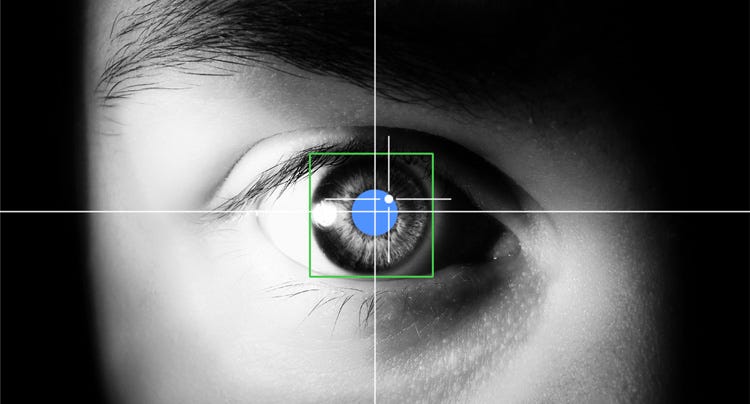 track eye
Sounds cool? It’s not much hard even.
So let’s dive into understanding how this would work in a simple flow chart.
Our android app → Uses Camera → Detects face → Starts some operation → Checks if eyes of the viewer is open → Continues the operation → If eyes are closed → Stop the operation.
This is the basic idea for our android app. For learning purposes we will just be doing this much in our app, but much more advanced features can be added using Google Vision API.
The operation that we’d be carrying out in our app is playing a simple video. Well, I chose a video from PIXAR Animation.
You can find the full source code for the app here.
Start a new Android project in your IDE like Android Studio or any other.
Go to the manifest file and add the following permission, as for this app we need the permission to use front Camera of the device.
<uses-permission android:name="android.permission.CAMERA" />
We also have to import Google Vision API in our android app, so head to the Build Gradle for app, mostly written as build.gradle (Module: app).
You will see a file with text that resembles this:
apply plugin: 'com.android.application'android { compileSdkVersion 28 defaultConfig { applicationId "com.pd.trackeye" minSdkVersion 15 targetSdkVersion 28 versionCode 1 versionName "1.0" testInstrumentationRunner "android.support.test.runner.AndroidJUnitRunner" } buildTypes { release { minifyEnabled false proguardFiles getDefaultProguardFile('proguard-android.txt'), 'proguard-rules.pro' } }}dependencies { implementation fileTree(dir: 'libs', include: ['*.jar']) implementation 'com.android.support:appcompat-v7:28.0.0' implementation 'com.android.support.constraint:constraint-layout:1.1.3' testImplementation 'junit:junit:4.12' androidTestImplementation 'com.android.support.test:runner:1.0.2' androidTestImplementation 'com.android.support.test.espresso:espresso-core:3.0.2' implementation 'com.google.android.gms:play-services:12.0.1'}If it looks like this, then you’re at the correct file destination. Copy the whole code above and paste it on that.
You’ll get a top-bar pop-up stating to sync files. Click on Sync Now and wait for the project to build.
After you get all green OK signs in your Build log, you can move ahead.
Now let’s write some android code that will do the magic. Head to the MainActivity of the file, and declare following variables, like this:
private static final String TAG = "MainActivity";VideoView videoView;EditText textView;//For looking logsArrayAdapter adapter;ArrayList<String> list = new ArrayList<>();CameraSource cameraSource;
These lines of code should be beneath the line that states something like this:
public class MainActivity extends AppCompatActivity {Now let’s do the magic code inside the onCreate() method that you will see on the same file.
Let’s first add something in our code that lets the user grant permission to add the android app, as without that our app will crash and not work.
if (ActivityCompat.checkSelfPermission(this, android.Manifest.permission.CAMERA) != PackageManager.PERMISSION_GRANTED) { ActivityCompat.requestPermissions(this, new String[]{Manifest.permission.CAMERA}, 1); Toast.makeText(this, "Grant Permission and restart app", Toast.LENGTH_SHORT).show();}else { videoView = findViewById(R.id.videoView); textView = findViewById(R.id.textView); adapter = new ArrayAdapter<>(this, android.R.layout.simple_list_item_1, list); videoView.setVideoURI(Uri.parse("android.rePublication date
Disclaimer
The views and opinions expressed in this article are solely those of the authors and do not reflect the views of Bitcoin Insider. Every investment and trading move involves risk - this is especially true for cryptocurrencies given their volatility. We strongly advise our readers to conduct their own research when making a decision.